Housekeeping Checklist for Nursing Home Managers

Housekeeping Checklist for Nursing Home Managers
Use a frequency-based, documented checklist covering daily, weekly, and monthly tasks, backed by written SOPs and supervisor sign-off, to keep residents safe and pass surveys. That combination, not just a clean-looking room, is what surveyors and infection preventionists actually check.
At shift start, assign key tasks immediately:
- Wipe high-touch surfaces such as bed rails, light switches, and door handles
- Clean and disinfect the toilet and grab bars
- Change or straighten linens
- Empty trash and replace liners
- Clean floors using a method appropriate for the room type
- Restock gloves, paper towels, and hand sanitizer
- Check sharps containers and secure them if nearing capacity
- Complete the documentation log before moving to the next room
Environmental cleaning works only when it’s scheduled, assigned, and recorded, according to the CDC. A mobile checklist tool, such as MyLTCApps, can log completion times and staff initials automatically, which turns a paper trail into a survey-ready audit trail without extra admin work.
Pro Tip: Print your daily checklist in the same order your staff actually walks the hallway. A checklist that fights the floor plan gets skipped.
Key Takeaways
A documented, frequency-based housekeeping checklist with supervisor sign-off is what actually keeps residents safe and satisfies surveyors, not just visibly clean rooms.
| Point | Details |
|---|---|
| Prioritize high-touch surfaces | Bed rails, light switches, and bathroom fixtures need daily cleaning, more often during outbreaks or isolation. |
| Clean before you disinfect | Mechanical wiping removes soil first; disinfectant contact time only works on a pre-cleaned surface. |
| Document every task | Log who, what, when, and any deviation, then require daily supervisor sign-off for survey readiness. |
| Match protocol to pathogen | Suspected C. diff cases need a sporicidal disinfectant, not the standard everyday cleaner. |
| Use mobile tracking for accountability | MyLTCApps logs checklist completion and supervisor sign-off in real time and exports survey-ready reports on demand. |
Table of Contents
- Core Housekeeping Checklist by Frequency
- Which Surfaces Need the Most Frequent Cleaning?
- How Should Staff Clean and Disinfect Surfaces?
- Handling Sharps, Waste, and Linen Safely
- What Documentation Keeps You Survey-Ready?
- Training and Competency Checks for EVS Staff
- How Mobile Checklists Improve Compliance
- Responding to Biohazard Spills and Outbreaks
- Infection Control for C. diff, MRSA, and Other Common Pathogens
- Cleaning Resident Rooms vs. Common Areas
- Managing Cleaning Supplies to Prevent Cross-Contamination
- Coordinating Housekeeping With Care Staff Schedules
- Realistic Priorities When Resources Are Tight
- Run Your Checklist Through MyLTCApps
- Sources
Core Housekeeping Checklist by Frequency
A nursing home cleaning checklist only works if it matches how often infection risk actually builds up. Daily tasks handle resident-contact surfaces. Weekly and monthly tasks catch the buildup that daily wiping misses. Here’s how to structure it.
Daily room tasks:
- Make the bed and wipe the over-bed table
- Disinfect high-touch surfaces: bed rails, call button, remote, light switches
- Empty trash and reline the can
- Restock tissues, gloves, and hand sanitizer
- Spot-clean visible soiling on floors and walls
Daily bathroom tasks:
- Clean and disinfect the toilet, seat, and flush handle
- Wipe the sink, faucet, and counter
- Disinfect grab bars and handrails
- Refill soap, paper towels, and toilet paper
- Mop the bathroom floor with a room-dedicated pad
Common areas (daily): dining tables after every meal, dayroom furniture arms and remotes, elevator buttons, and handrails in hallways all need the same high-touch treatment as resident rooms. Floors get mechanical cleaning with detergent; the CDC notes that routine floor disinfection beyond normal detergent cleaning adds little protective value compared with focusing effort on high-touch surfaces.
Weekly tasks:
- Deep dust ceiling vents, light fixtures, and window sills
- Clean refrigerator interiors in nourishment rooms (a set schedule prevents this from getting skipped)
- Launder privacy curtains on a rotating basis
- Wipe down baseboards and door frames
Monthly and as-needed tasks:
- Deep clean carpets and upholstered furniture
- Full curtain laundering facility-wide
- Terminal clean any discharge or transfer room, floor to ceiling, before the next admission
Assign a responsibility column to every line: EVS handles routine cleaning, nursing staff handles resident-owned medical equipment, and maintenance handles vents, fixtures, and anything requiring tools. Post wet-floor signage before mopping and require gloves for all bathroom and biohazard tasks.
Which Surfaces Need the Most Frequent Cleaning?
High-touch surfaces carry the highest transmission risk in any long term care housekeeping checklist because they’re frequently touched by residents, staff, and visitors. Prioritize these first when time is limited:
- Bed rails and call buttons
- Light switches and door handles
- Bathroom grab bars and faucet handles
- Overbed tables and wheelchair push handles
- Shared equipment: blood pressure cuffs, thermometers, wheelchairs
Baseline frequency is at least once daily, per CDC infection control guidance, but that jumps to multiple times per shift during an outbreak or for any isolation room.
When staffing runs thin, triage by priority class: A (bathroom fixtures, bed rails, isolation rooms) gets done every shift no matter what; B (common-area high-touch points) gets done daily; C (deep dusting, vents) can slip to the next scheduled week. Verify A-class completion at every shift handoff, out loud, not just on paper.

How Should Staff Clean and Disinfect Surfaces?
Cleaning and disinfecting are two different steps, and skipping the first one undermines the second. Mechanical removal of soil, meaning actual wiping and scrubbing, is as critical as the chemical itself in getting a surface truly clean.
Use pre-wetted microfiber cloths and the 8-sided fold, which gives eight clean wiping surfaces from one cloth before it goes in the laundry bin. Color-code cloths by room type (red for bathrooms, blue for resident rooms) to prevent cross-contamination. For terminal cleans, use one dedicated mop pad per room and never carry it to the next. Skip spray bottles that mist into the air; the CDC flags aerosolizing methods as something to avoid in occupied care areas.
Only use EPA-registered disinfectants, mixed fresh every day, and follow the label’s stated contact time exactly. A disinfectant wiped off ten seconds early hasn’t done its job. Gloves are the baseline PPE for any bathroom or bodily-fluid task; add a gown and eye protection for contaminated linen or spill cleanup.
Pro Tip: Keep a laminated contact-time card taped inside each supply cart. Staff forget the number, not the product.
Handling Sharps, Waste, and Linen Safely
Sharps containers get closed and swapped, never reached into. Disinfect the container’s exterior, foot pedal, and lid every time a liner comes out, since that’s a high-touch point everyone forgets.
- Bag and remove sharps containers before they hit the fill line, not after
- Bag contaminated linen at the point of use and transport it in closed carts, never carried loose down the hall
- Launder linens at facility-recommended temperatures and never reuse a wiping cloth from one resident room in another
- Empty and disinfect trash receptacles on a set weekly schedule, more often in resident bathrooms
- Treat any blood or bodily fluid waste as biohazard, bagged separately and logged
What Documentation Keeps You Survey-Ready?
Every completed task needs a record that answers five questions: what was cleaned, who cleaned it, when, any notes, and photo evidence if the task involved a spill or terminal clean. That’s the difference between “we clean daily” and proof a surveyor will accept.
CMS-related guidance expects facilities to maintain a documented, sanitary environment as part of routine survey readiness, tied to expectations like F584. Build your logs to match:
- Capture task, staff name, timestamp, and any deviation note on every checklist line
- Have a supervisor sign off on daily logs before the shift closes
- Link every disinfectant used to its safety data sheet and keep that binder current
- Open a corrective action log any time a task is missed or a spot check fails
- Retain records for the period your state survey agency requires, typically a rolling year at minimum
Trend the misses. If the same room or shift keeps showing gaps, that’s your retraining target, not a coincidence.
Training and Competency Checks for EVS Staff
New EVS hires need hands-on training before their first solo shift: proper PPE donning and removal, microfiber technique, disinfectant contact times, and where isolation signage lives. Pair this with your new hire onboarding checklist so housekeeping competencies don’t get buried inside general orientation.
- Day one: shadow a trained staff member through a full room turnover
- 30 days: supervisor observes a solo clean and scores technique against a written competency list
- Quarterly: retest on disinfectant selection, PPE, and terminal clean procedure
- Annually: full refresher covering any updated products or outbreak protocols
Document every check with a pass/fail and date, tied to the employee’s file. Supervisory spot checks, run weekly on a rotating room sample, feed a monthly trend report. When misses cluster around one task type or one shift, that’s what triggers targeted retraining, not a blanket redo.
How Mobile Checklists Improve Compliance
Paper checklists get lost, backdated, or filled out from memory at the end of a shift. Mobile checklists log the task the moment it happens, with a timestamp that can’t be edited after the fact.
MyLTCApps turns daily cleaning checklists into a mobile workflow: staff tap through tasks on a phone, supervisors sign off digitally, and the system exports a survey-ready report on demand instead of requiring someone to reassemble binders under deadline. Facilities piloting this kind of EVS tracking typically start in one wing, let supervisors run it alongside paper for two weeks, then scale facility-wide once staff are comfortable. The practical payoff is fewer missed tasks and faster corrective action, since a gap shows up in real time instead of at the next audit.
Pro Tip: Run your pilot during a slower week. Staff adopt new tools faster when they’re not also fighting a full census.
Responding to Biohazard Spills and Outbreaks
A biohazard spill (blood, vomit, feces) needs a different response than routine cleaning, and every EVS staff member should know the steps without checking a manual mid-crisis.
First, contain the area: block foot traffic and post signage immediately. Put on gloves, a gown, and eye protection before touching anything, since bodily fluid exposure is the point where PPE stops being optional. Absorb the spill with disposable materials, never a cloth mop head that gets reused. Clean the area with detergent to remove organic material, then apply an EPA-registered disinfectant rated for the specific pathogen risk, following the label’s full contact time. Bag all disposable materials as biohazard waste and dispose of them per your facility’s medical waste contract.

During a suspected or confirmed outbreak, such as norovirus or an influenza cluster, escalate high-touch cleaning to multiple times per shift facility-wide, not just in the affected wing. Isolation rooms get dedicated cleaning supplies that never travel to another room, and staff cleaning those rooms wear full PPE with a defined donning and doffing sequence. Notify your infection preventionist or director of nursing the moment a spill or suspected outbreak is identified, since documentation timing matters during a survey investigation.
Every biohazard response gets logged the same way as routine cleaning: who responded, what time, what was used, and any residents or staff potentially exposed. That log becomes critical if the outbreak spreads and your facility needs to show containment steps were immediate rather than delayed.
Infection Control for C. diff, MRSA, and Other Common Pathogens
Not every pathogen responds to the same disinfectant, and treating them identically is a common mistake. Clostridioides difficile (C. diff) forms spores that resist many standard disinfectants, so rooms with a known or suspected C. diff case need a sporicidal, EPA-registered disinfectant, typically a bleach-based product, rather than the facility’s everyday quaternary ammonium cleaner.
MRSA and other drug-resistant organisms spread primarily through direct contact and contaminated surfaces, which makes high-touch surface frequency and hand hygiene compliance the two biggest levers. Standard EPA-registered disinfectants work against MRSA when contact time is followed correctly, but the cleaning step matters just as much: mechanical removal of organic soil before disinfecting is what actually reduces bioburden, per CDC guidance.
Practical protocol adjustments for known infectious cases:
- Post isolation signage before entering and remove it only after terminal clean sign-off
- Dedicate cleaning supplies (cloths, mop pad, bucket) to that room for the duration of isolation
- Increase high-touch cleaning frequency to every shift minimum, more for shared bathroom fixtures
- Use a sporicidal disinfectant specifically for suspected C. diff, never assume the standard product covers it
- Train staff to change gloves between the resident and the surrounding room surfaces, since one contaminated glove touching multiple items spreads the organism further than the original contact point
Document the pathogen type on the room’s cleaning log so the next shift knows exactly which disinfectant protocol applies, rather than guessing from a generic isolation sticker.
Cleaning Resident Rooms vs. Common Areas
A resident’s room is their home, and that changes both the cleaning approach and the courtesy expected, even though the disinfection standard stays the same. Always knock and announce before entering, and clean around personal belongings rather than moving or discarding anything without permission. Photographs, mementos, and furniture arrangement stay untouched unless the resident or a family member has asked for reorganization.
Follow a clean-to-dirty sequence inside the room itself: dust and wipe surfaces first, then the bathroom, then floors last, which keeps you from tracking contamination backward into cleaner areas. Skip disinfecting a resident’s personal electronics or keepsakes with harsh chemicals; a dry or barely damp microfiber cloth is usually enough for those items.
Common areas carry a different risk profile because more people pass through them in a day. Dining rooms need table and chair disinfection after every meal service, not once daily. Elevator buttons, handrails, and shared dayroom furniture accumulate contact from dozens of residents, staff, and visitors, so they belong in the same high-touch rotation as resident room rails.
The practical difference for your checklist: resident rooms get scheduled, predictable cleaning times that respect routines like naps or therapy sessions, while common areas get cleaned reactively around meal times and high-traffic periods throughout the day. Both need the same documentation rigor, but the common-area log should track time-of-day patterns, since a dining room touched by fifty people needs a different frequency than a single resident’s bedroom touched by three.
Managing Cleaning Supplies to Prevent Cross-Contamination
A poorly organized supply closet is where cross-contamination quietly starts. Store chemicals in their original labeled containers, never decanted into unlabeled spray bottles, and keep safety data sheets accessible at every storage point, not locked in an office binder.

Segregate supplies by use zone: a cart or caddy assigned to isolation rooms should never travel to a common area or another resident’s room during the same shift. Color-coded cloths and mop pads only work as a system if the supply closet itself is organized by the same color code, so staff grab the right item without thinking about it under time pressure.
Rotate stock so older disinfectant doesn’t sit past its shelf life; expired product often loses efficacy well before the label’s contact time claims still apply. Check that spray bottles and dilution equipment are labeled with the exact product and concentration, since two similar-looking bottles with different active ingredients is a documented cause of misapplication in healthcare settings.
Keep a running inventory with reorder thresholds so a critical item, like the sporicidal disinfectant for suspected C. diff cases, never runs out mid-outbreak. A designated storage area away from resident traffic, locked if it contains anything hazardous, keeps both residents and untrained staff from accidental exposure. Assign one person to audit the supply closet monthly: check labels, check dates, check that color-coded items are actually stored in their assigned zones rather than wherever there was space that week.
Coordinating Housekeeping With Care Staff Schedules
Housekeeping and nursing staff are working in the same rooms all day, and a checklist that ignores that reality creates friction and privacy problems. Build your cleaning schedule around known care routines: avoid entering during bathing, toileting assistance, or meal feeding unless the task is urgent, and coordinate with the floor nurse or aide before starting a room clean during active care time.
A quick verbal check-in at shift start, where EVS and nursing staff briefly align on which rooms have therapy sessions, family visits, or medical procedures scheduled, prevents most scheduling collisions. Some facilities build this into a shared digital schedule so housekeeping can see care blocks without needing to ask every time.
Privacy matters as much as timing. Knock, announce, and wait for acknowledgment before entering any resident room, even one that appears empty. If a resident is receiving care or has a visitor, housekeeping should offer to return rather than working around the activity, unless the task is time-sensitive like a spill or soiled linen.
The payoff for coordinating well shows up in resident satisfaction and staff efficiency both. Fewer interruptions mean nursing staff finish care routines faster, and housekeeping gets uninterrupted access to actually finish the job rather than starting and stopping repeatedly. A shared task board or scheduling view, whether it’s a whiteboard or a digital dashboard, keeps both departments working from the same information instead of each guessing at the other’s plans.
Realistic Priorities When Resources Are Tight
When staffing runs short, the temptation is to spread thin and touch everything lightly. That’s backward. Resident-facing safety tasks, high-touch surfaces and bathroom fixtures, need full attention every time, even if that means a common-area dusting slips a day.
Documentation is the other place worth protecting, not cutting, under pressure. A supervisor spending ten minutes on spot checks and sign-offs produces more survey-ready evidence than an extra hour of unlogged cleaning. Surveyors and auditors trust a thin but consistent record over a thick one with obvious gaps.
The nursing homes that handle staffing crunches well aren’t the ones with the most staff. They’re the ones with the clearest triage rules, so any employee, on any shift, knows exactly what gets done first when there isn’t time for everything.
— Philip
Run Your Checklist Through MyLTCApps
MyLTCApps replaces the binder and the memory-based sign-off with a mobile checklist your EVS team actually uses on the floor, not just at the end of a shift when details get fuzzy.
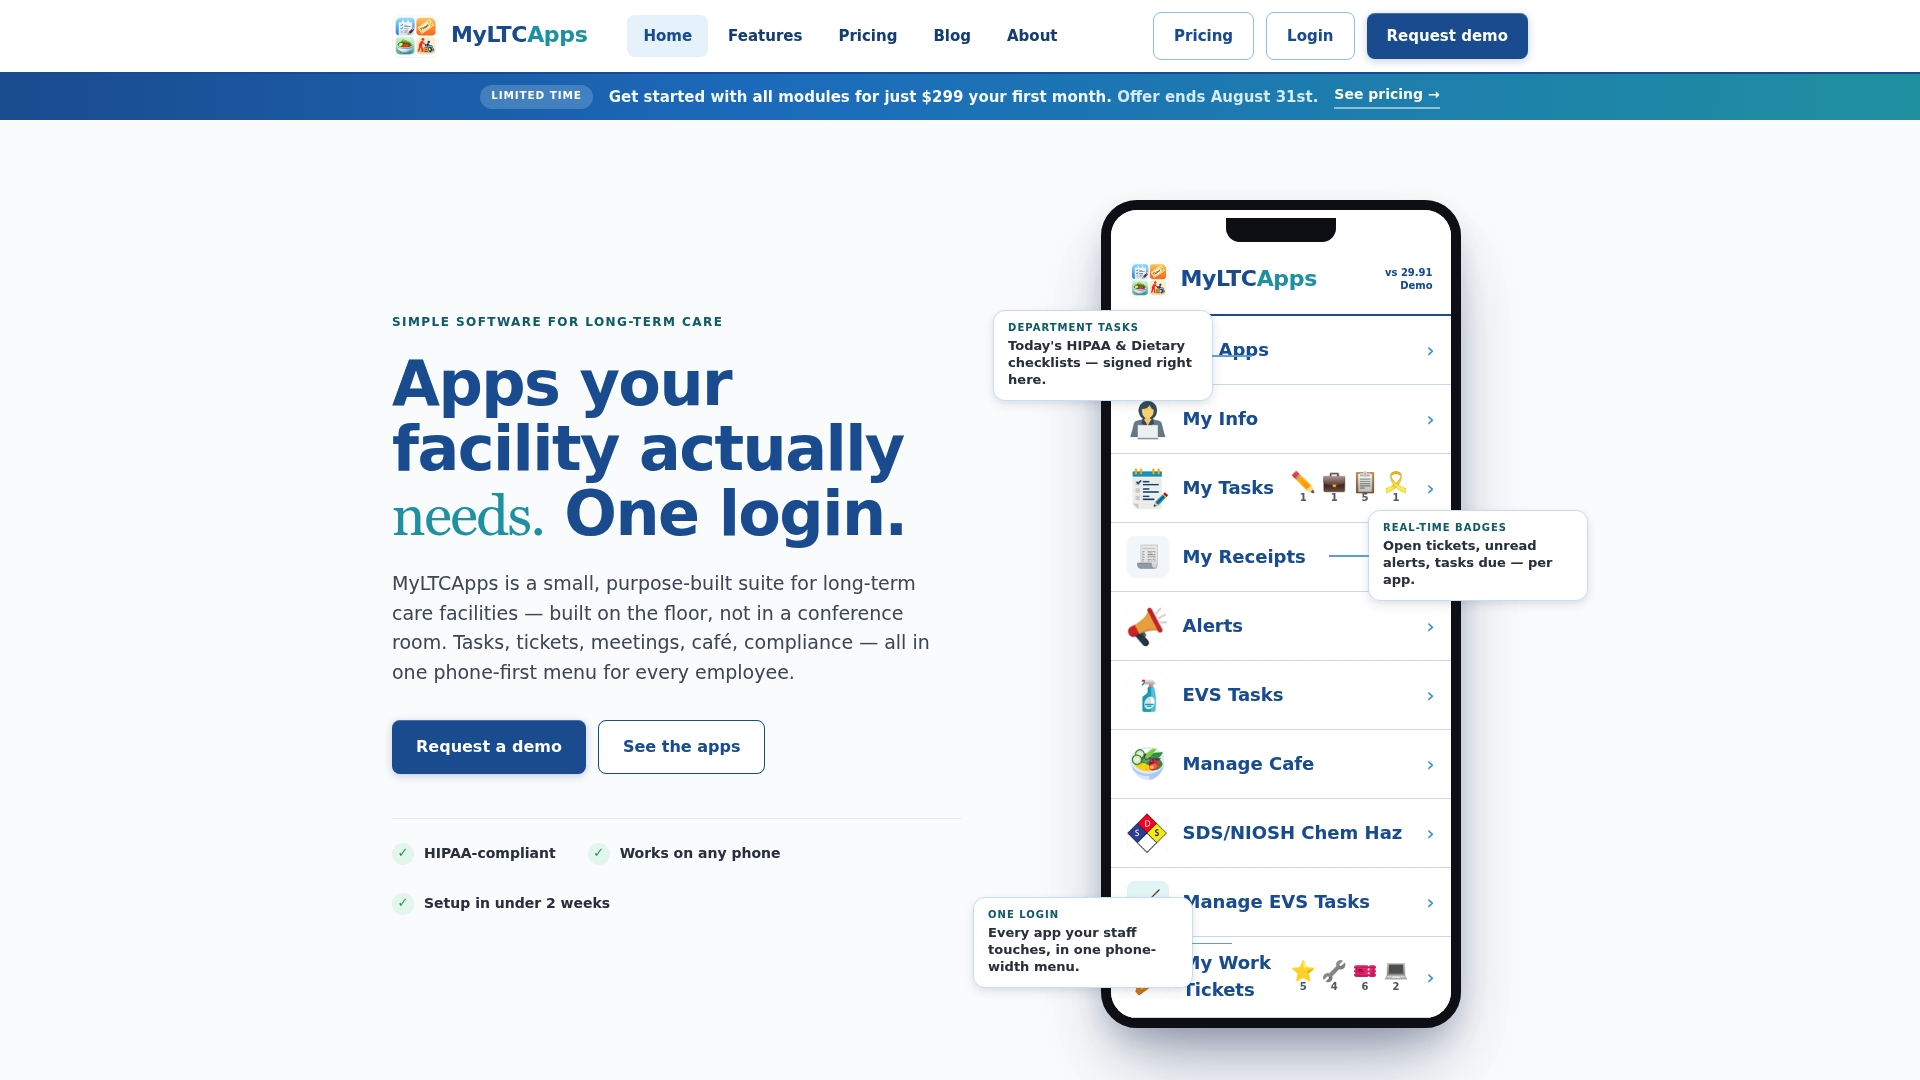
The platform includes seeded compliance libraries so you’re not building a housekeeping checklist from a blank page, mobile task completion with supervisor sign-off built into the workflow, and audit exports formatted for the moment a surveyor asks to see your records. For daily and weekly task tracking specifically, the compliance task and checklist software gives supervisors a live view of what’s done, what’s overdue, and where a pattern of missed tasks is forming.
Before a demo, pull your current paper checklist and your last internal audit findings. That gives our team a real starting point instead of a generic walkthrough. If you’re ready to see how EVS tracking works in practice, request a demo and bring your toughest shift-coverage question with you.
Sources
- Environmental Cleaning Procedures | Healthcare-associated infections | CDC
- Implementation checklist: Caring for the resident environment (CMS-related guidance)